With errors inbox, busy DevOps teams can proactively detect, triage, and take action on all errors before they impact customers. Your team can resolve errors from across your stack, including all APM, browser (RUM), mobile, workloads, and serverless (AWS Lambda) data, and Otel displayed on one screen. Whenever a critical, customer-impacting error arises your team can be notified through your preferred communication channel, like Slack. Errors are grouped intelligently to cut down on noise and ensure that critical errors are detected quickly and efficiently.
Ready to get started? Make sure you have a New Relic account. It's free, forever!
Get started
There are two ways to start using errors inbox:
- Scoped view: Navigate to a supported entity: APM, Browser, Mobile, Workload, or Otel and start viewing your errors right away. No setup required!
- Global view: Select errors inbox from the navigation menu and select the entities that are of interest to you. You will start viewing error groups for those entities right away. You have the option to save this view as a workload.
Scoped view
Entity scoped views allow you to view errors for a single APM, browser, mobile, workload, or OpenTelemetry application.
You can access the errors inbox view for a specific entity by navigating to that entity in the APM, browser, mobile, workload, or OpenTelemetry monitoring view and selecting Errors inbox in the left nav.
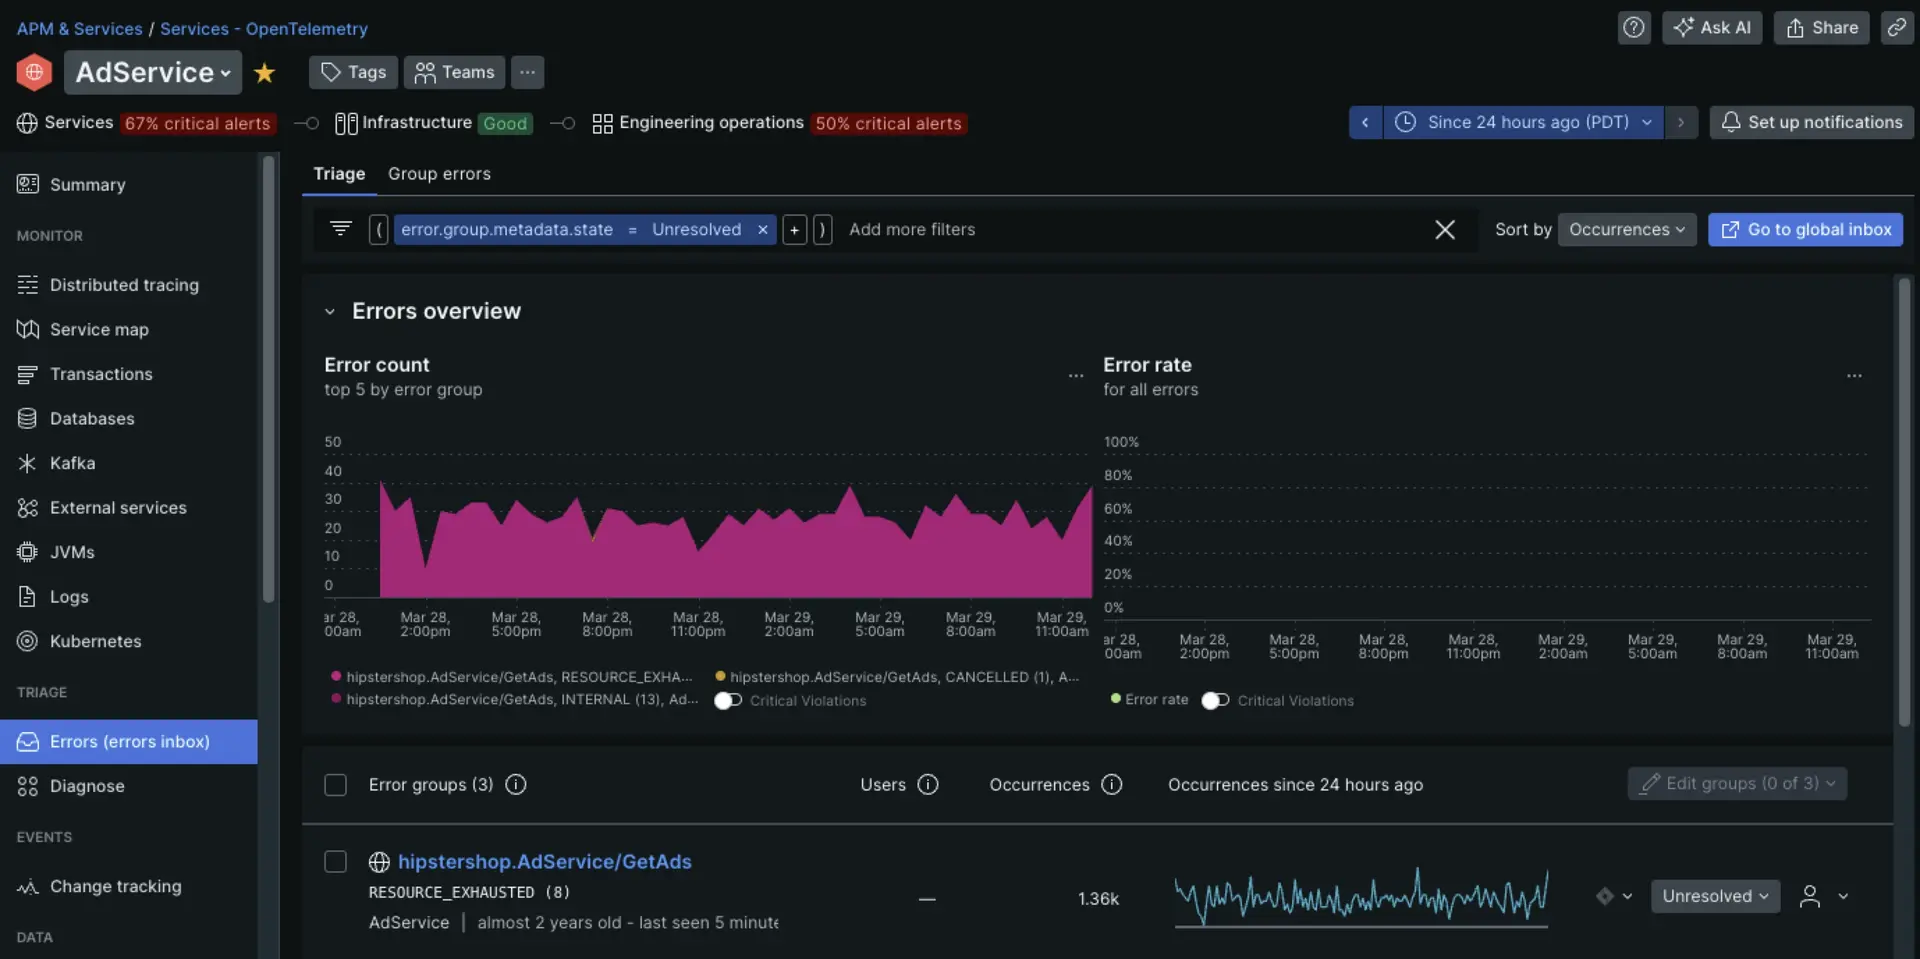
one.newrelic.com > All capabilities > Errors inbox
Global view
Most DevOps teams oversee a number of services and consolidating this information in one inbox is more effective for their workflow. Using the global view, you can view error groups for multiple entities.
You can group APM, Browser, Mobile, Serverless, and Otel entities together and save your curated view as a workload in two simple steps.
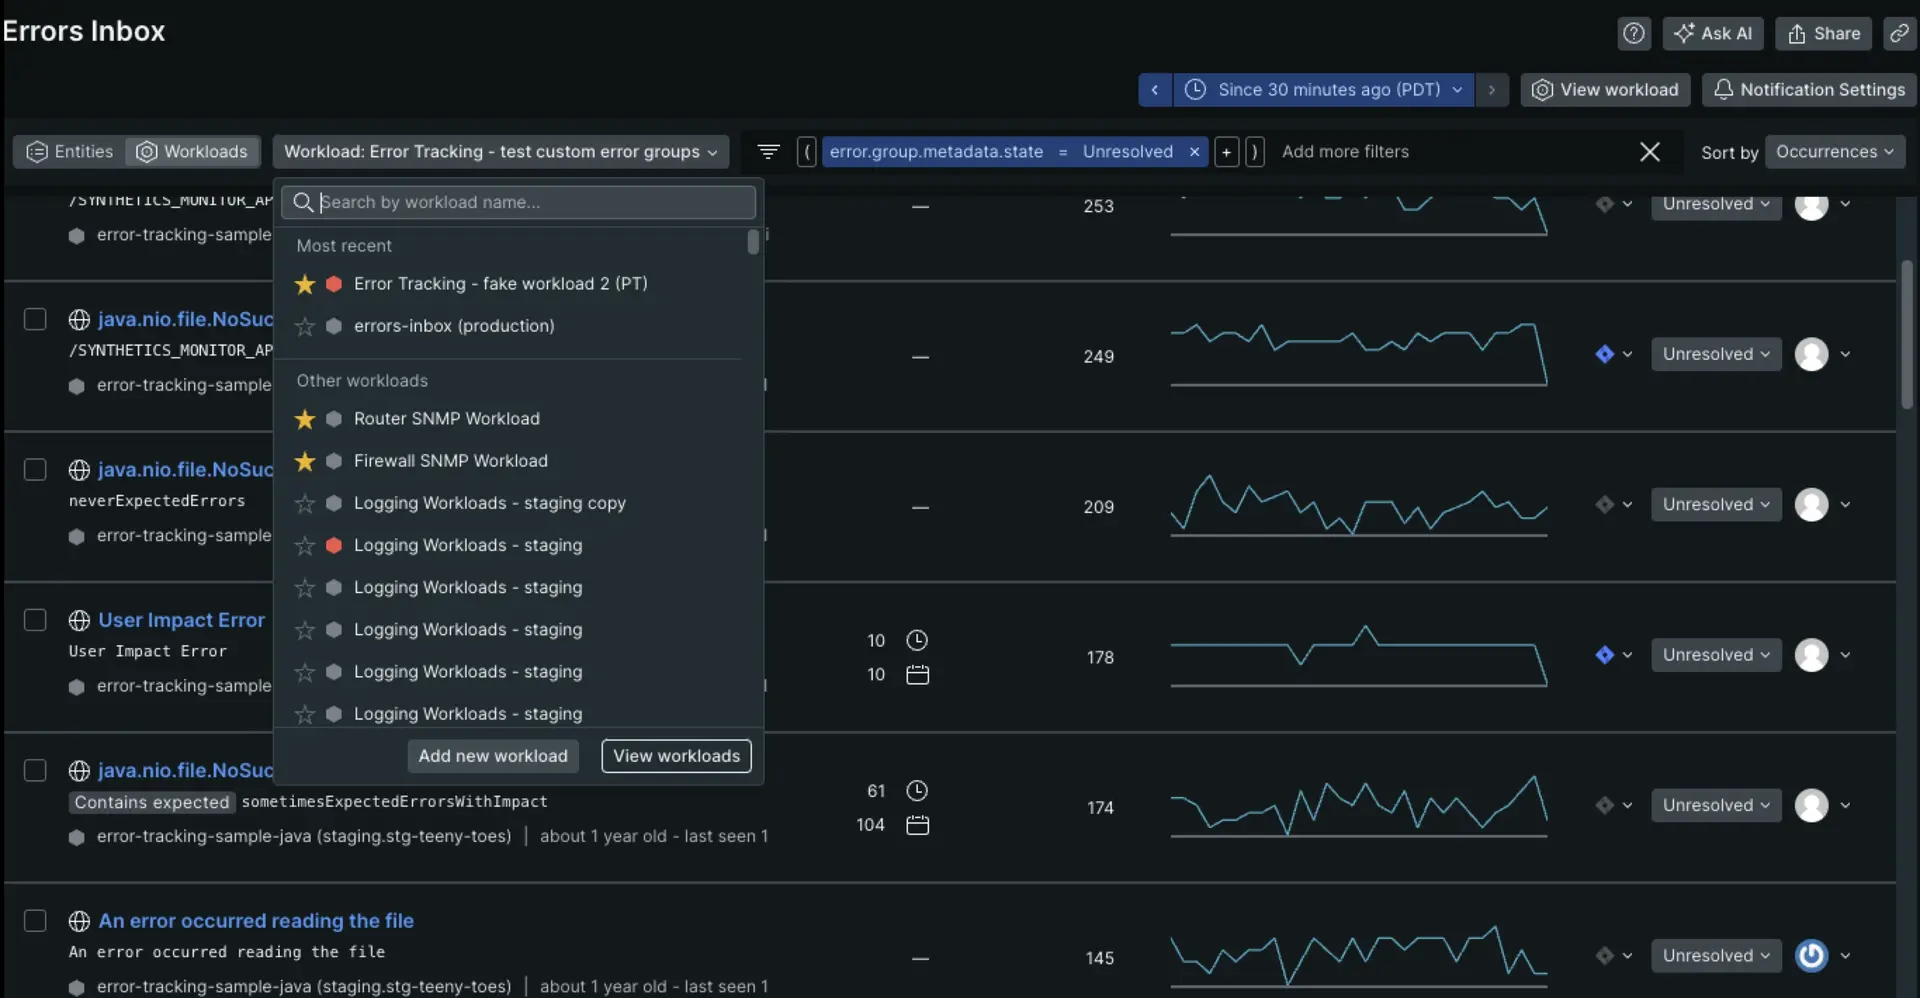
one.newrelic.com > All capabilities > Errors inbox
Create a workload
Go to one.newrelic.com > All capabilities > Errors inbox, click Entities and select the entities that you want to save as a workload. Then, click Save as workload. The entities you've preselected will be automatically added, and you can also add more.
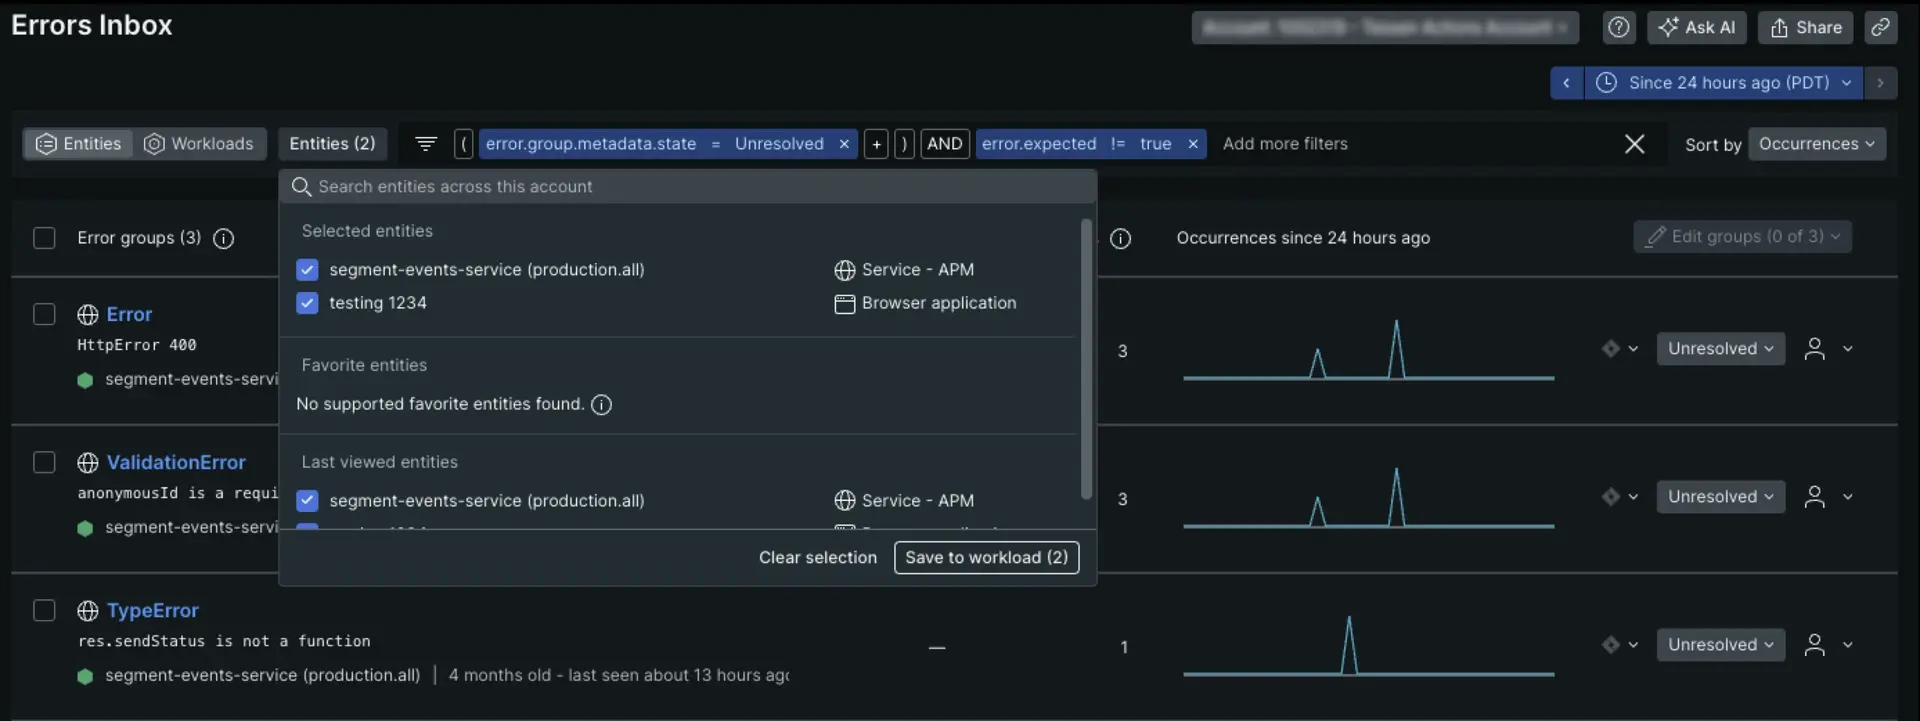
one.newrelic.com > All capabilities > Errors inbox
Once you have all the entities you need, click the Workloads toggle, and then Create a workload.
In the Create a workload window, give the workload a name and select the entities you want to include. Once you're finished, click Create a workload.
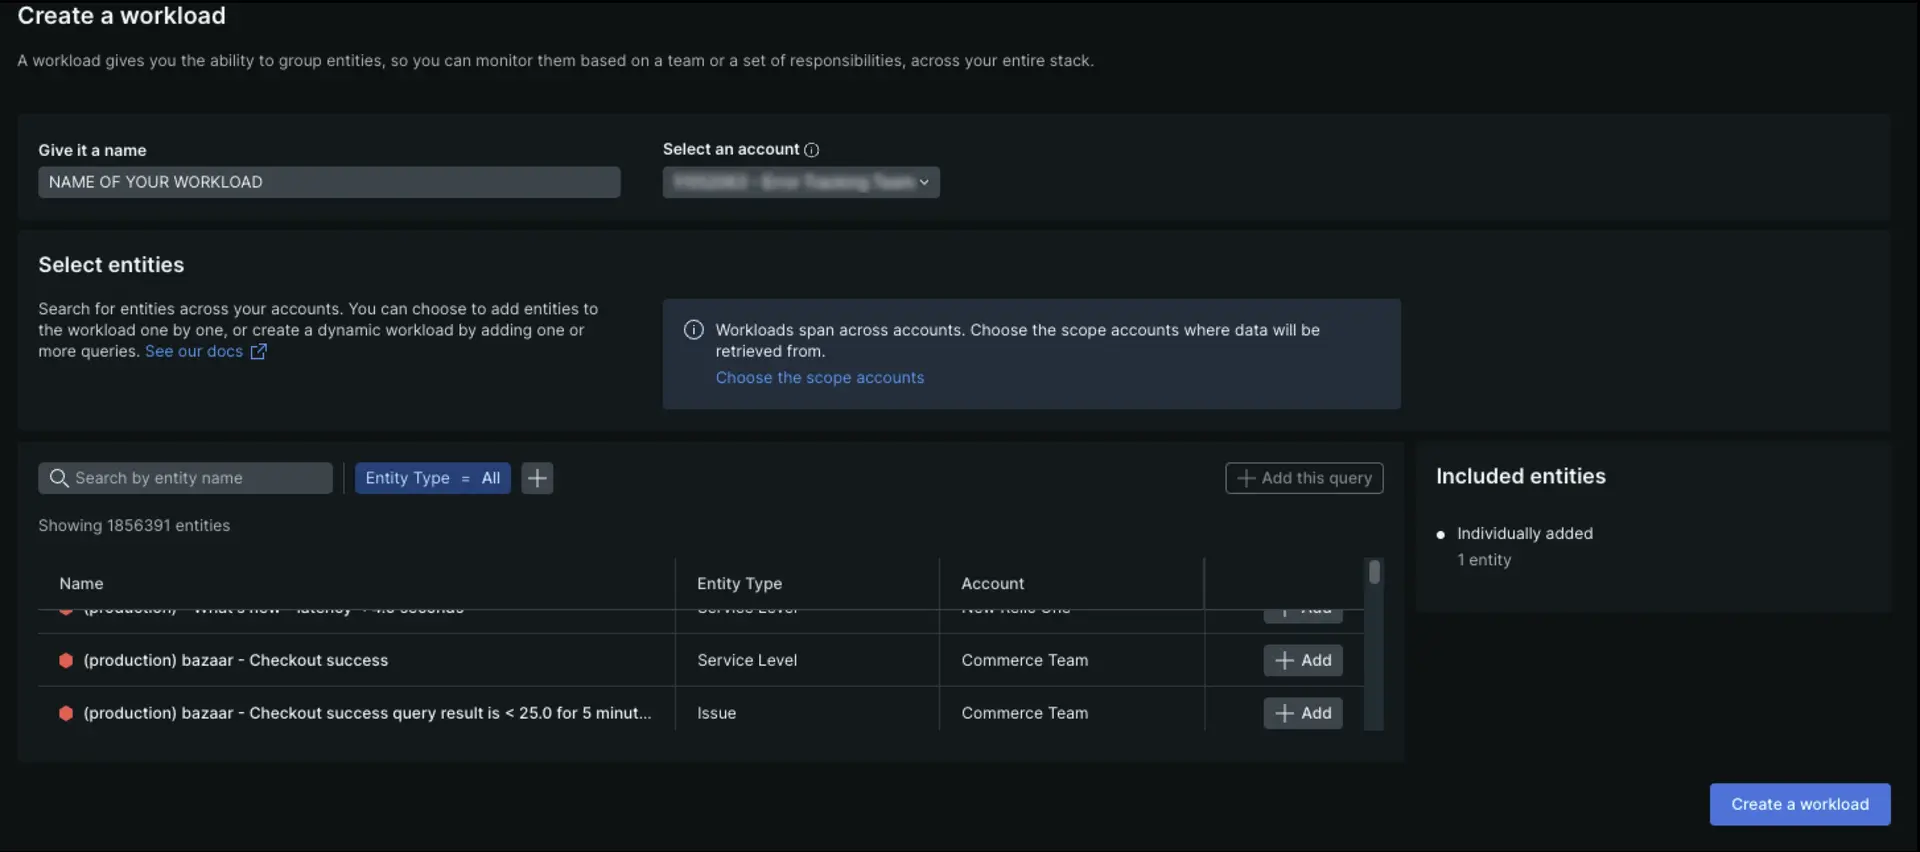
one.newrelic.com > All capabilities > Errors inbox, click Workloads
You can now view all your entities in a workload.
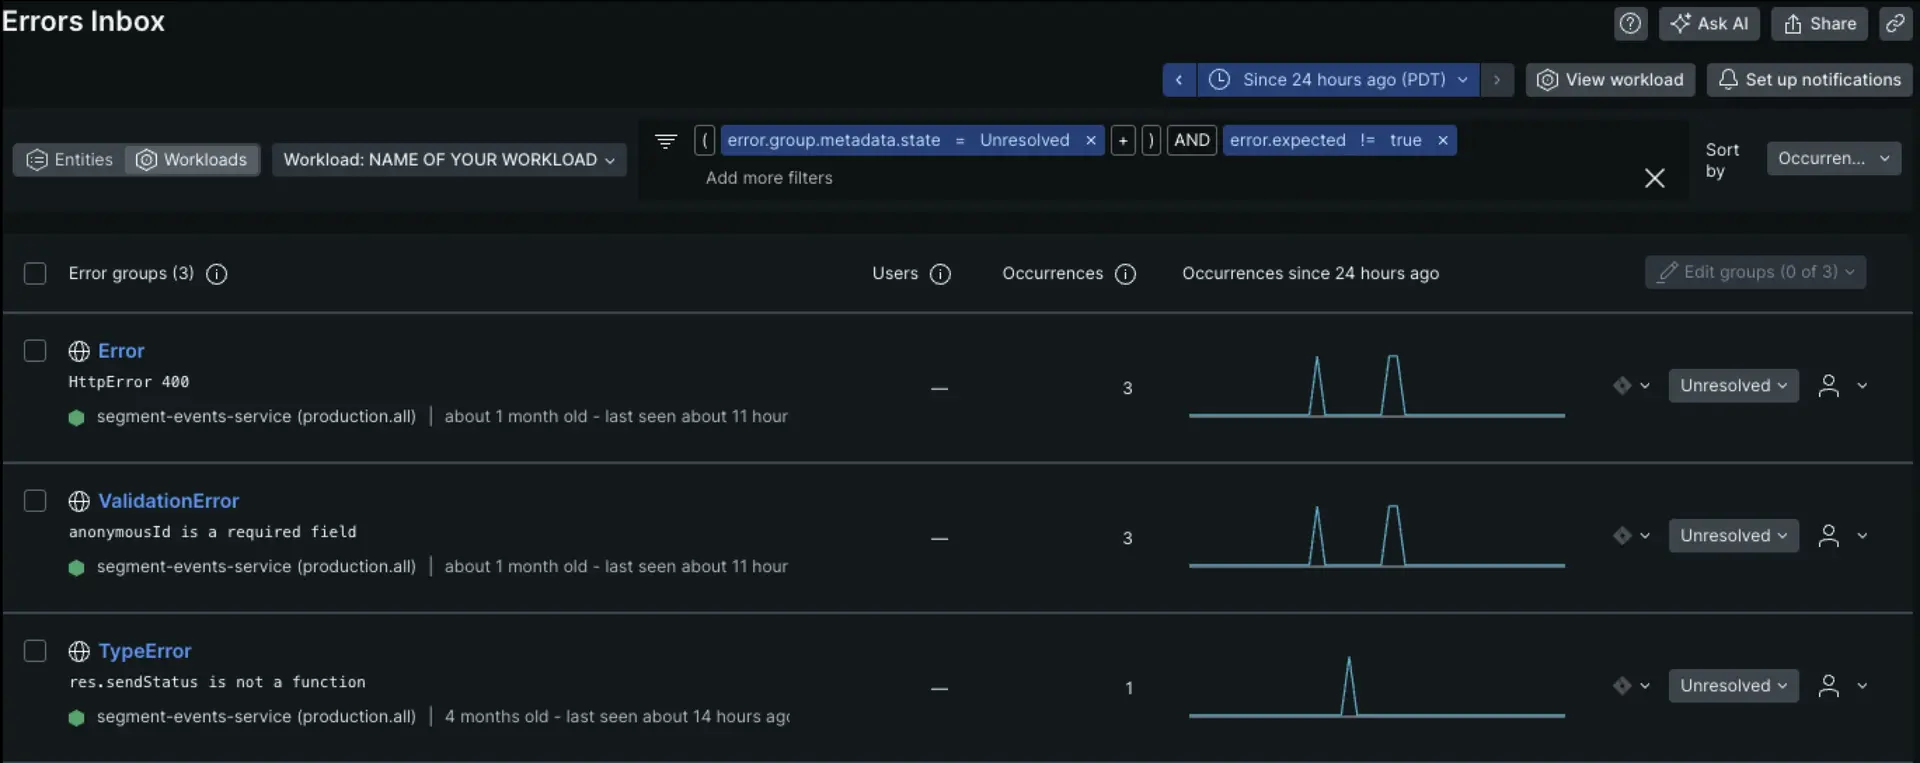
one.newrelic.com > All capabilities > Errors inbox, check out your new Workload
Entity limits for workloads in errors inbox
Please note: the errors inbox can only be used with workloads containing 2,000 or fewer entities.