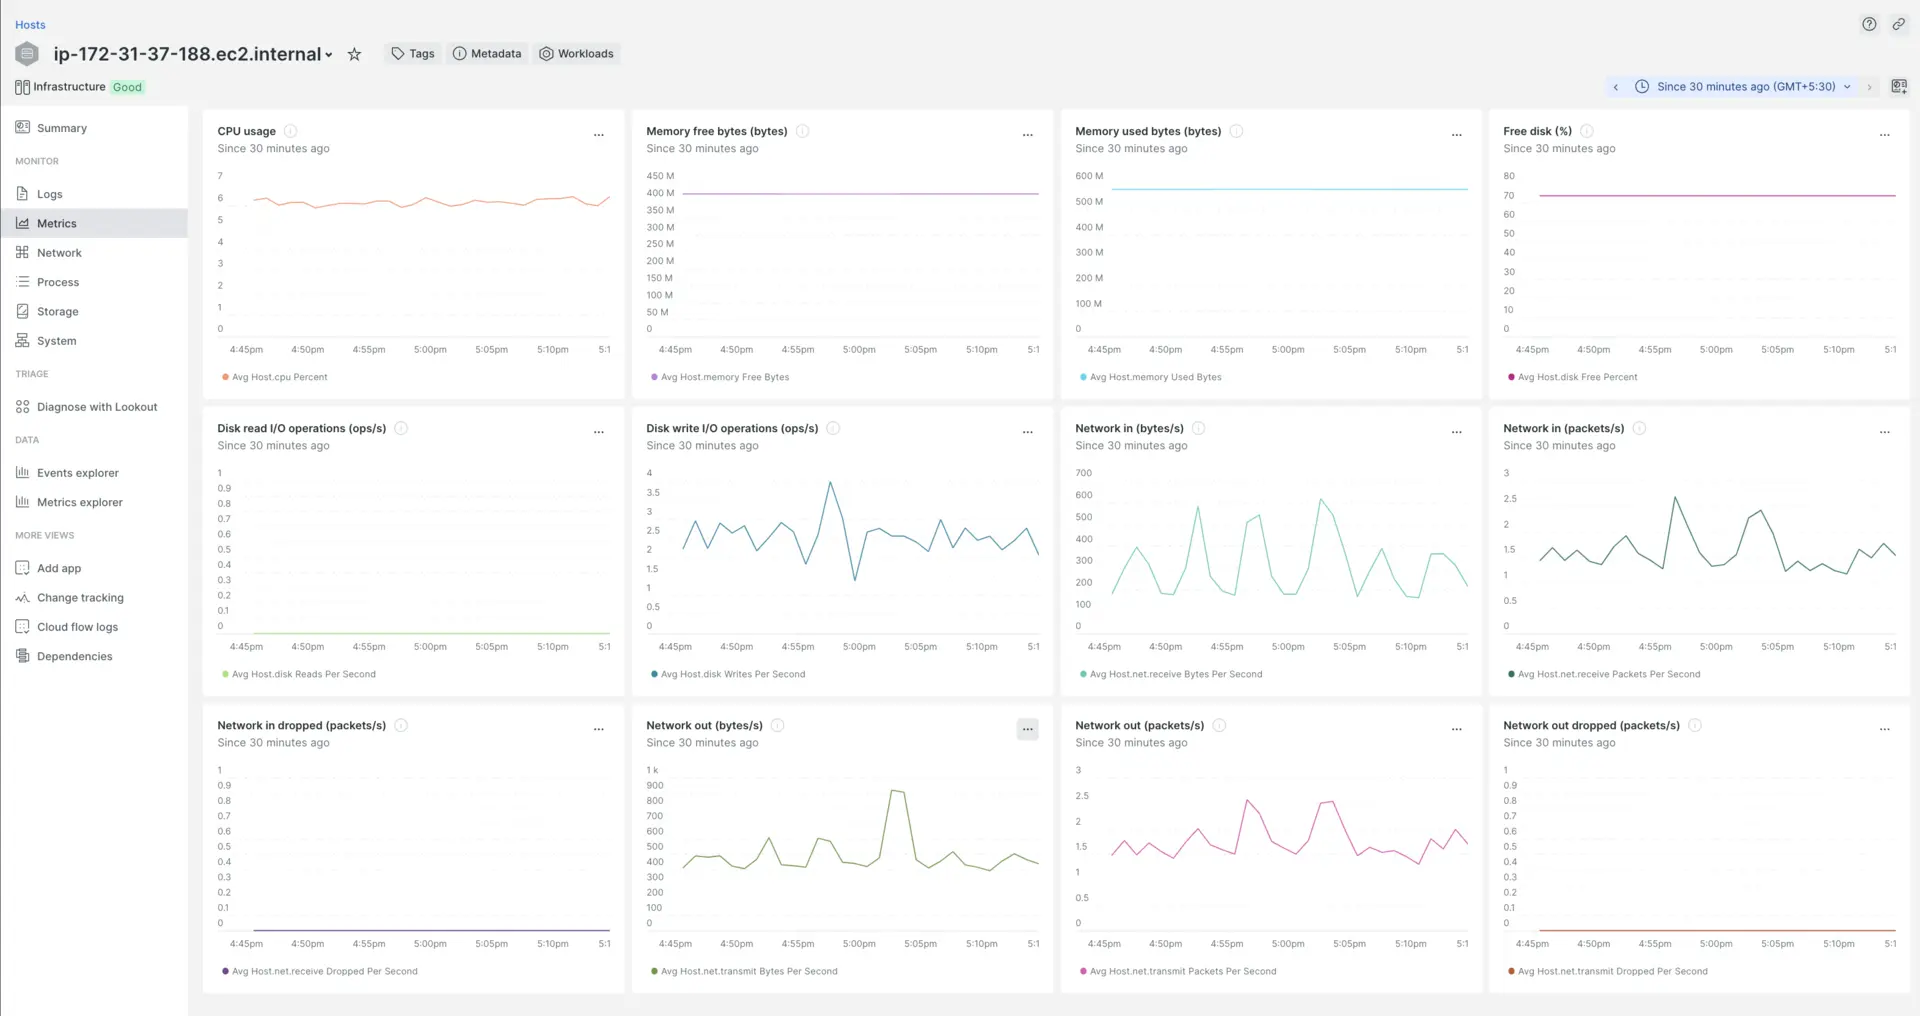
このドキュメントでは、Azure コマンド ライン インターフェイス (Azure CLI) を使用して Azure アークに接続されたマシンに New Relic Extension をインストールする方法を段階的に説明します。
前提条件
始める前に、次のものがあることを確認してください。
- Azure CLI がローカル マシンにインストールされている。
- Azure Arc に接続されたマシンがセットアップされ、Azure サブスクリプションに登録されます。
- 指定したリソース グループ内のリソースを管理できるようにする、Azure サブスクリプション所有者または共同作成者ロールからのアクセス許可。
インストール手順
ターミナルまたはコマンドプロンプトを開きます
Azure サブスクリプションに接続し、Azure CLI を通じて次の手順を実行します。
Azure CLI コマンドを実行する
ターミナルに次のコマンドを入力して、Azure arc 接続マシンに New Relic エージェントをインストールします。
For Linux-based machines:
bash
$az connectedmachine extension create \> --resource-group "your-resource-group" \> --machine-name "your-machine-name" \> --location "your-location" \> --name NewRelicAgent \> --publisher newrelic.infrastructure.extensions \> --type newrelic-infra \> --settings '{ "NR_LICENSE_KEY": "YOUR-NEW-RELIC-LICENSE-KEY" }'For Windows-based machines:
bash
$az connectedmachine extension create \> --resource-group "your-resource-group" \> --machine-name "your-machine-name" \> --location "your-location" \> --name NewRelicAgent \> --publisher newrelic.infrastructure.extensions \> --type newrelic-infra-windows \> --settings '{ "NR_LICENSE_KEY": "YOUR-NEW-RELIC-LICENSE-KEY" }'「your-resource-group」、「your-machine-name」、「your-location」などのプレースホルダーを実際のリソース グループ、マシン名、場所に置き換えます。

